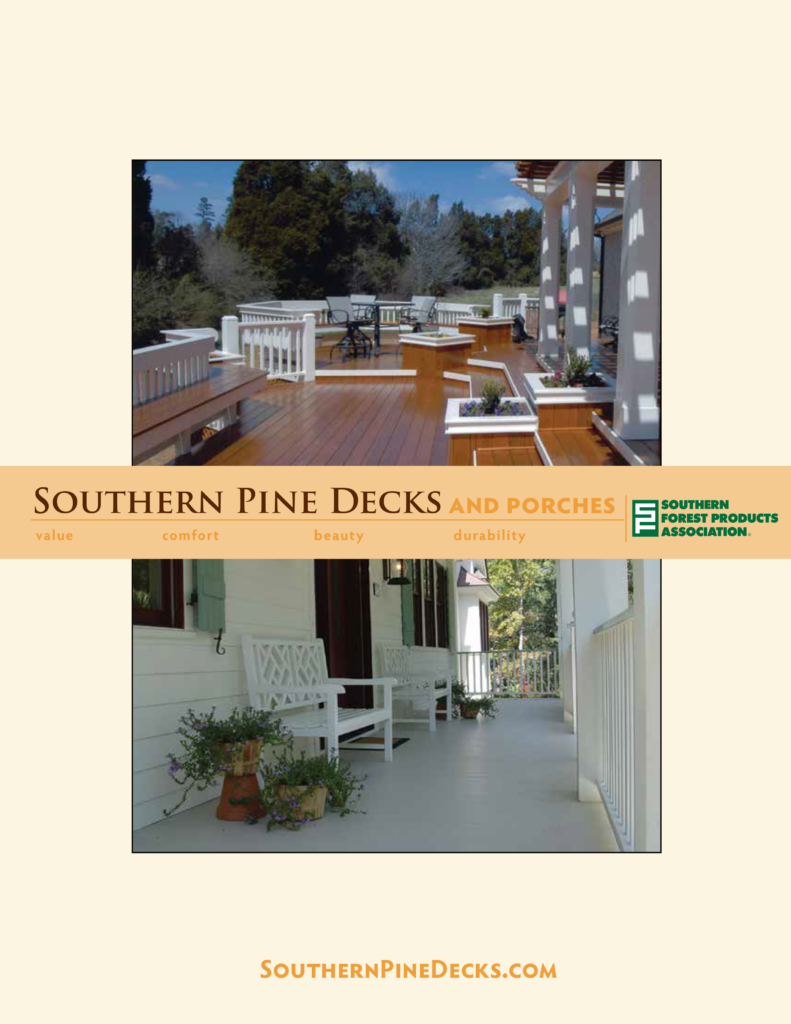
Preparing For Your Southern Pine Deck
Preparing For Your
Southern Pine Deck
Decks originally gained popularity as a way of adding outdoor living space on hillside lots. However, decks today are built just inches high or elevated well above the ground, offering firm, dry footing close to the home. They also may be free-standing or attached to the home.
These are just two of the considerations when planning and preparing for your Southern Pine deck. The location and design of a deck should be influenced by several factors:
- Anticipated use (sunbathing, large parties, family relaxation, outdoor cooking)
- Air currents (take advantage of gentle breezes or block prevailing winds)
- Existing structure (compatible with function, environment, style)
- Sunlight (desire sun or shade?)
- Privacy (screen certain areas, avoid street noise, landscaping)
- View (emphasize a good view or mask a poor one)
- Safety (framing connections, stairs, railings)
- Access to and from the home (adjoin to a kitchen, den, bedroom)
- Terrain (elevated deck, ground level, split level)
Once the basic size, shape and location of the deck are selected, check local building codes. In addition to code requirements, there may be neighborhood covenants that restrict height and/or size. A construction permit – and possibly a plan – may be needed. Do not order any lumber or start work until it is certain that local requirements are met.
It’s important to locate your deck in a place that does not obstruct access to any utility or drainage lines. If you’re not sure of the location or depth of buried electric, telephone, gas, water, or sewer lines, contact your utility providers before digging.
To learn more about proper planning, building a deck, building a porch, and finishing and maintenance, check out our Southern Pine Decks and Porches publication, a comprehensive guide to the specification and construction using pressure-treated Southern Pine.
Click below to learn more about:
Planning to build your deck around a tree? Check out this helpful video:
Ledger vs. Non-ledger Decks
There are two main types of decks — decks supported by a ledger attached to the house, and non-ledger decks, more commonly known as ground-level decks.
Common practice is to attach the deck directly to the joist system of the home with a ledger board. Proper ledger board installation and detailing is critical. An even better alternative is to construct a non-ledger deck supported on all corners by posts to support vertical loads.
Ledger Attachment
Lumber used for the ledger should be flashed to prevent moisture intrusion and decay. In normal backyard service, copper flashing is recommended, fastened with copper flashing nails. (If copper is not an option, use similar metals to avoid galvanic corrosion).
In coastal applications, stainless steel flashing and fasteners are recommended. Aluminum flashing is not compatible with the copper in treated wood, and plastic is not recommended since the flashing may become brittle and crack because of UV exposure.
Non-ledger decks (ground-level decks)
Site preparation is important for ground-level decks. Start by preparing an area approximately 2 feet larger than the footprint of the deck site on all sides. Remove sod to a depth of 2-3 inches and replace with clay, sand, or gravel to prevent water from pooling beneath the deck. Also ensure the ground is sloped to direct runoff away from the deck and home.
To prevent weeds and unwanted vegetation from growing beneath the deck, spread 6-millimeter polyethylene sheeting over the area. Secure the sheeting around the edges with gravel, pebbles, bark chips or other decorative edging.
Other Southern Pine deck considerations before you start…
Layout
Mark off the deck area using string and “batter boards” to make sure it is level and square. The string will help you visualize the size and appearance of the finished deck and serve as a guide for excavation and post placement.
Squaring
- Attach string to the house and/or batter boards, making sure the string is level.
- Use a felt tip marker to mark the string 3 feet from corner in one direction and 4 feet from corner in the other direction.
- Move the string attached to the batter board to the left or right until the diagonal connecting the two marks measure 5 feet. You should have a right triangle and the angle at the corner will be 90 degrees.
- Check the accuracy of the layout by comparing the diagonal measurements corner to corner. They should be the same.
Elevated Decks
Useable space under elevated decks may be converted to dry areas for additional recreation or storage.
Use the Correct Lumber
Make sure the wood is treated for its intended exposure. Check plastic end tags or stamps affixed to the lumber for “above ground” or “ground contact.” Do not use lumber marked “above ground” for “ground contact” applications. Click here to learn more about decking and stair treads.
Best Face Forward
Before you begin assembly, lay out your lumber with the best-looking face exposed. Decide which pieces you want for visible areas, such as the band joist or bracing, and which pieces for the understructure, such as joists. Decking should be installed bark side up. Click here to learn more about decking and stair treads.
Avoid Landscape Timbers
Do not use landscape timbers for deck posts, railings, fence posts or other structural lumber. Landscape timbers are decorative items only and are not manufactured, graded, or treated for structural use.
Spans
Do not exceed maximum spans for structural deck components, such as joists and beams. Consult maximum span tables in the Prescriptive Residential Wood Deck Construction Guide.
Safety and Access
The American Wood Council’s Prescriptive Residential Wood Deck Construction Guide, Design for Code Acceptance 6 (DCA6) (available in Spanish) provides code-compliant details for single-level residential wood decks to help professionals and do-it-yourselfers design and build safe decks.
Pressure-treated lumber ramps can provide economical, safe, and practical access to decks and porches for the disabled. North Carolina State University’s Center for Universal Design offers a Wood Ramp Design publication to guide you.
Other Southern Pine deck considerations before you start…