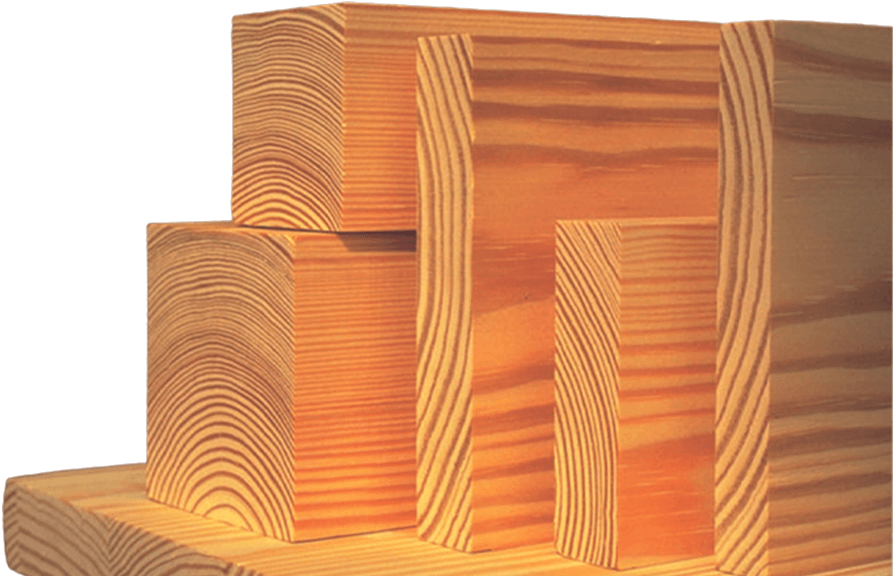
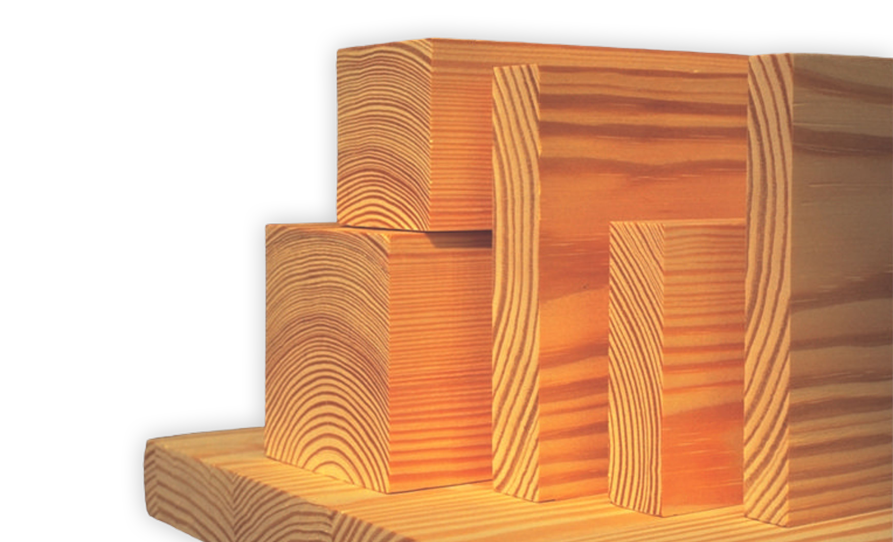
Popular since colonial times, Southern Pine lumber is the preferred choice for today’s design/build professionals. Incredibly versatile, it is affordable, treats well, outperforms other lumber for density, provides natural beauty, is widely available, and is a leader among sustainable building materials.
When it comes to sustainable building, wood – including Southern Pine – wins hands down. Southern forests play an important role in storing carbon. The ideal climate grows at a sustainable rate and when trees are manufactured into lumber, carbon is stored as wood. Southern Pine’s durability means anything constructed with it can last a lifetime and longer.
At the end of its life, wood products can be recycled or used as biomass fuel, which is why wood use is increasingly recognized as one way to combat climate change.
No other building material can match Southern Pine lumber’s unique combination of benefits, including value, strength, ease of use, and environmental superiority.
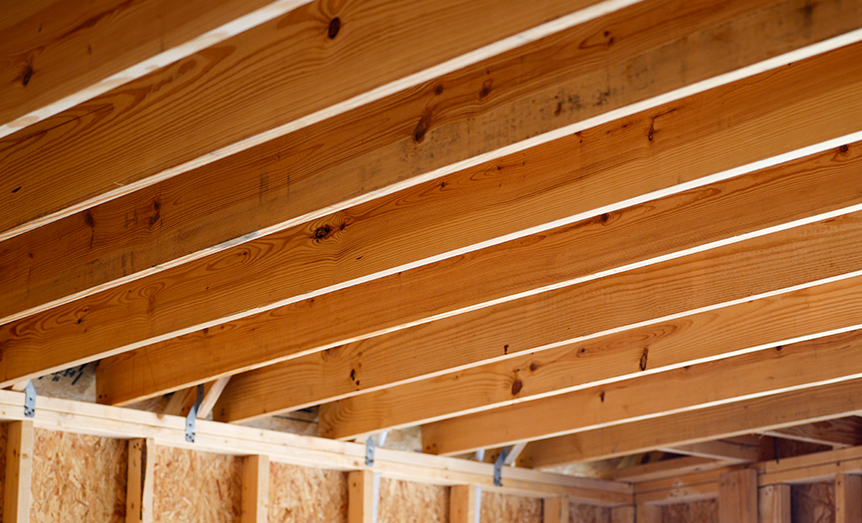
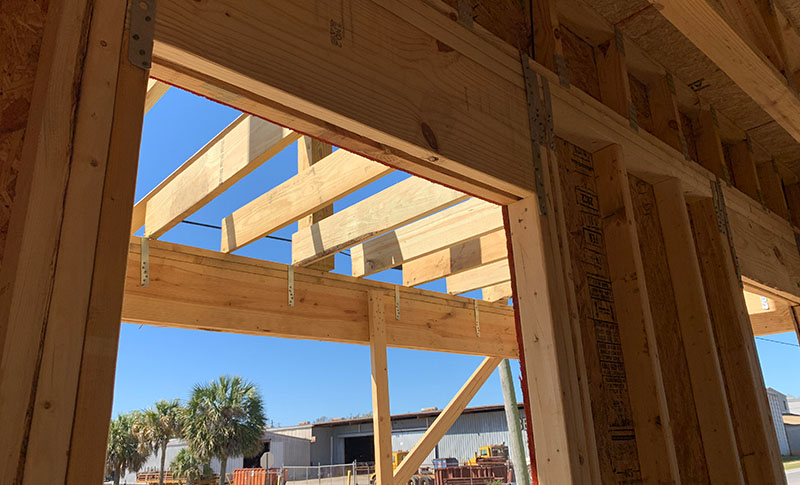
Southern Pine is one of the most sustainable – and often long-term cost-effective – options. It is dependable for everything from building a deck to framing a five-story residential complex – and everything in between including flooring, marine construction, material handling, furniture, permanent wood foundations, post-frame construction, siding, trusses, and more. Plus, there’s no replacement for the natural beauty of real wood.
Do you know how to use Southern Pine to the max? SFPA publishes technical resources to help you appropriately use Southern Pine in your next construction project. Whether used for maximum spans for joists and rafters, beam sizing, or tabulated design values – SFPA’s span tables are an available resource that’s just a click away.
From residential and commercial construction to pressure-treated Southern Pine, SFPA’s Lumber Library is a resource of 25 technical publications to help you better understand the value and proper use of Southern Pine. If you’re looking for information about green building or sustainability, there are seven publications dedicated to these topics.
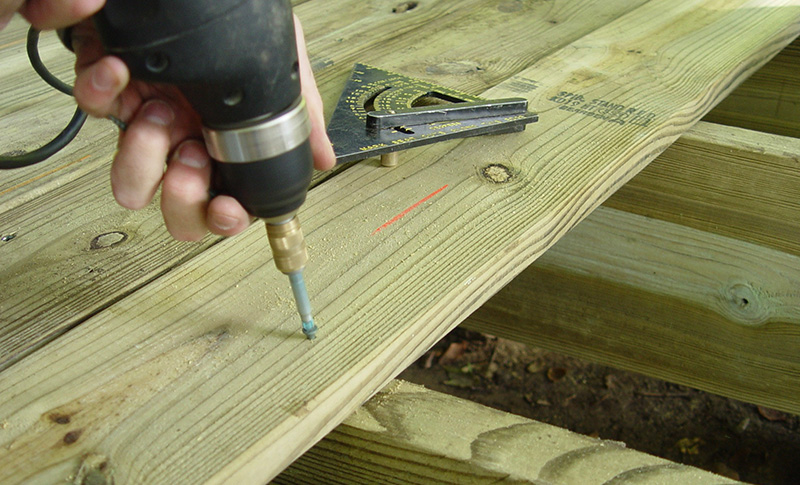
Check out some pressure-treated Southern Pine DIY projects for the backyard and beyond that you and your family will enjoy for years to come. Projects are ranked from 1 to 3 wrenches to indicate complexity level!
Southern Pine is one of the most sustainable – and often long-term cost-effective – options. It is dependable for everything from building a deck to framing a five-story residential complex – and everything in between including flooring, marine construction, material handling, furniture, permanent wood foundations, post-frame construction, siding, trusses, and more. Plus, there’s no replacement for the natural beauty of real wood.
Do you know how to use Southern Pine to the max? SFPA publishes technical resources to help you appropriately use Southern Pine in your next construction project. Whether used for maximum spans for joists and rafters, beam sizing, or tabulated design values – SFPA’s span tables are an available resource that’s just a click away.
From residential and commercial construction to pressure-treated Southern Pine, SFPA’s Lumber Library is a resource of 25 technical publications to help you better understand the value and proper use of Southern Pine. If you’re looking for information about green building or sustainability, there are seven publications dedicated to these topics.
Check out some pressure-treated Southern Pine DIY projects for the backyard and beyond that you and your family will enjoy for years to come. Projects are ranked from 1 to 3 wrenches to indicate complexity level!
Southern Pine lumber is preferred around the world for projects requiring strength, appearance, or durability. Find out how you can incorporate Southern Pine lumber into your next project!
We’re stronger together. The original Southern Pine Association was founded on this principle in 1915, and it remains the core mission of the Southern Forest Products Association (SFPA) today.


 Versatility
 Span Tables
 Technical Publications
 DIY Projects